
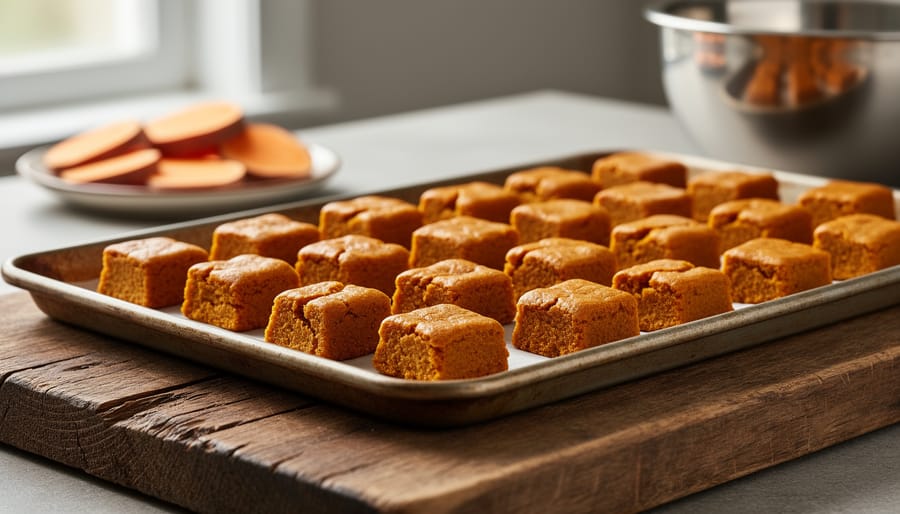
Making sweet potato dog treats at home takes about an hour from start to finish, using just a handful of pantry staples to create chewy, nutrient-rich snacks your pup will love. Sweet potatoes are packed with fiber, vitamins, and antioxidants that support digestive health and immune function, and when you bake them yourself, you control exactly what goes into your dog’s mouth. No preservatives, no mystery ingredients, just wholesome goodness.
The basic method is simple: puree or mash cooked sweet potato, blend it with flour and a binding ingredient like egg or peanut butter, then bake until firm. You can customize the texture to suit your dog’s preferences, whether they prefer a crunchy biscuit or a softer chew that works well in a food-dispensing toy. Ottawa pet owners have embraced this DIY trend as grocery prices continue to climb, and veterinarians consistently recommend homemade treats as a way to avoid common allergens and fillers found in commercial products.
Before you start, keep portion size in mind. Treats should make up no more than 10% of your dog’s daily calorie intake, so these homemade bites work best as training rewards or occasional snacks rather than meal replacements. With the right ingredients and a few basic kitchen tools, you’ll have a batch ready to go in less time than it takes to drive to the pet store.
Why Sweet Potato Treats Are Great for Dogs
Sweet potatoes pack a nutritional punch that makes them perfect for homemade dog treats. They’re loaded with vitamins A, C, and B6, plus essential minerals like potassium and manganese that support your dog’s immune system, vision, and overall health. The high fiber content aids digestion and can help dogs maintain a healthy weight, while the natural sweetness makes these treats irresistible without added sugars.
When you make treats at home, you know exactly what goes into your dog’s bowl. No mystery ingredients, no questionable preservatives, and no worries about recalls that occasionally plague commercial pet food brands. Many Ottawa dog owners have concerns about additives and fillers in store-bought treats, and DIY recipes eliminate that uncertainty completely. You can adjust recipes for dogs with allergies or sensitivities, something impossible with off-the-shelf products.
The cost savings add up quickly too. While specialty treats cost in Ottawa can run several dollars for small packages, a single sweet potato and a few pantry staples yield dozens of wholesome treats. You’re not paying for packaging, marketing, or brand markup. Just simple, honest ingredients that show your dog love without breaking your budget.
What You’ll Need to Get Started
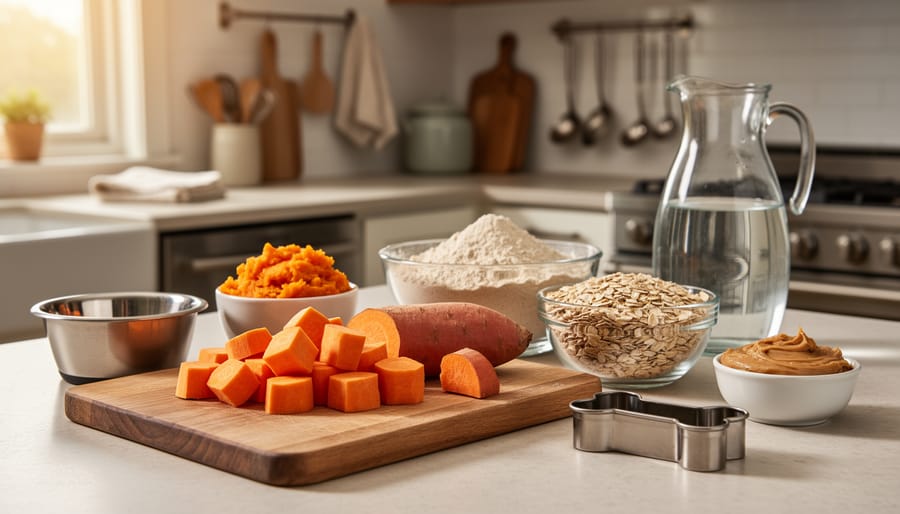
Making sweet potato dog treats doesn’t require fancy equipment or hard-to-find ingredients. Most of what you’ll need is already sitting in your Ottawa kitchen. Before you start, choose which recipe style works best for your pantry and your pup’s preferences.
The coconut flour version is grain-free and works well for dogs with sensitivities. This recipe calls for a short ingredient list that creates chewy, flavorful treats. You’ll need 3/4 cup of sweet potato puree (about one large sweet potato, cooked and mashed), 1/4 cup of coconut oil, and 1/2 cup of coconut flour. Coconut flour absorbs moisture differently than regular flour, so don’t substitute it without adjusting the ratios.
The traditional version uses everyday pantry staples and produces a slightly firmer treat. For this option, gather 1 large sweet potato (which yields roughly 1 to 1.5 cups once cooked and mashed), 2 cups of all-purpose flour, 2 eggs, and 1/3 cup of peanut butter. When selecting peanut butter, scan the label carefully to confirm it contains no xylitol, an artificial sweetener that’s toxic to dogs.
Whichever recipe you choose, you’ll also need these basic kitchen tools:
- Mixing bowls (at least two medium-sized bowls work well)
- Baking sheet (a standard cookie sheet does the job)
- Parchment paper or a silicone baking mat to prevent sticking
- Cookie cutters in fun shapes, or a sharp knife for cutting squares
- Rolling pin if you want uniform thickness
- Airtight storage containers for keeping treats fresh
You probably have everything already except perhaps the coconut flour or cookie cutters. A fork for mashing and a spoon for mixing complete your setup. The simplicity of this equipment list means you can start baking today without a special trip to the store.
Important Safety Guidelines Before You Start
Before you start mixing ingredients, you need to know what’s safe and what could seriously harm your dog. Some common kitchen staples are toxic to canines, and avoiding them isn’t optional, it’s essential for your pet’s health.
Never include onions, garlic, chocolate, grapes, or raisins in any dog treat recipe. Even small amounts can cause serious health problems, from onions and garlic toxicity that damages red blood cells to chocolate’s cardiovascular and neurological effects. Read every ingredient label carefully, xylitol hides in unexpected places, including some brands of coconut flour and other baking products.
Proper food handling matters just as much as ingredient selection. Wash your hands thoroughly before starting, use clean utensils and bowls, and store ingredients at appropriate temperatures. If you’re using eggs, make sure they’re fresh and properly cooked into the treats.
Consider your individual dog’s needs before baking. Dogs with food sensitivities, grain allergies, or underlying health conditions may need recipe modifications. If your dog has diabetes, kidney issues, or a history of pancreatitis, talk with your Ottawa veterinarian before introducing new treats. They can help you adjust ingredients to suit your pet’s specific dietary requirements and ensure these homemade goodies will be both safe and beneficial.
Step-by-Step: Making Your Sweet Potato Dog Treats
Preparing Your Sweet Potato
Start with a medium to large sweet potato, about one to one-and-a-half cups once cooked and mashed. You’ve got three cooking methods to choose from, and all work well.
For baking, pierce the sweet potato several times with a fork and place it directly on your oven rack. This method brings out the natural sweetness and creates a drier texture that’s easier to work with. For boiling, peel and cube the sweet potato first, then simmer the pieces until they’re fork-tender. This is faster but adds more moisture to your puree. If you’re short on time, microwaving works too, pierce the skin, wrap in a damp paper towel, and cook in short intervals, checking frequently.
You’ll know your sweet potato is done when a fork slides through easily with no resistance. Let it cool completely before handling, this takes about twenty minutes and prevents steam burns.
Once cooled, remove the skin if you baked it whole, then mash thoroughly with a fork or potato masher. You want a smooth, lump-free consistency similar to baby food. If your puree seems watery, press it gently through a fine-mesh strainer or let it sit for a few minutes so excess moisture drains away. The right texture should hold together when you scoop it, not run off your spoon.
Mixing Your Dough
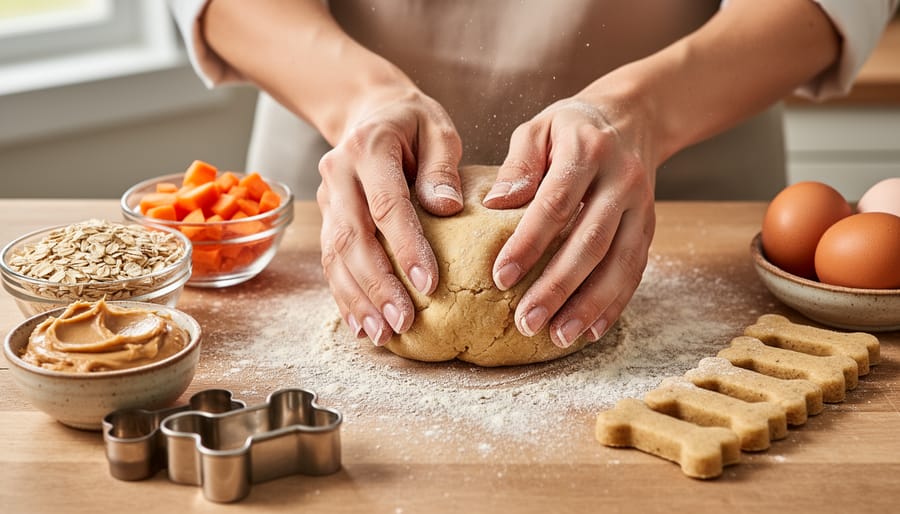
Add your cooled sweet potato puree to a large mixing bowl first. This becomes your base. Pour in the wet ingredients next, coconut oil (or peanut butter and beaten eggs if using the traditional recipe), and stir until well combined. Now gradually fold in your flour, a half cup at a time. This prevents lumps and gives you control over the texture.
You’re aiming for a dough that holds together when squeezed but doesn’t stick to your hands. Think play-dough consistency: pliable, slightly tacky to touch, but not leaving residue on your fingers. If your mixture feels like wet cake batter, add flour one tablespoon at a time until it firms up. Too crumbly and dry? Drizzle in a teaspoon of water or coconut oil and knead gently.
The sweet potato’s moisture content varies depending on how you cooked it, so trust your hands more than exact measurements. When the dough forms a smooth ball that you can lift cleanly from the bowl, you’re ready to shape. A light dusting of flour on your work surface prevents sticking during the next step.
Shaping and Baking
Once your dough is ready, lightly flour a clean work surface and roll it out to about 1/4-inch thickness. This thickness ensures the treats bake evenly and become crispy without burning. If the dough sticks to your rolling pin, dust it with a bit more flour.
Now for the fun part: shaping your treats. Use cookie cutters in shapes your dog will love, bones, hearts, or paws are popular choices. Press firmly through the dough and lift each shape carefully onto a parchment-lined baking sheet. If you don’t have cookie cutters, simply use a knife or pizza cutter to slice the dough into uniform squares or rectangles. Dogs don’t care about aesthetics, so simple shapes work just as well.
Arrange the treats on your baking sheet with about half an inch of space between them. They won’t spread much during baking, but this spacing helps air circulate for even cooking.
Since baking temperatures and times vary depending on which recipe you’re following, stick closely to your recipe’s specific instructions. Most sweet potato dog treats bake until they’re firm to the touch and develop golden-brown edges. The centers should look dry rather than shiny or wet.
Here’s what to watch for: the edges will darken first and the treats will start to feel hard when you gently press the top. They’ll continue to firm up as they cool, so don’t worry if they seem slightly soft when you first pull them from the oven. Let them cool completely on a wire rack before offering one to your eager pup.
How to Tell When Your Treats Are Done
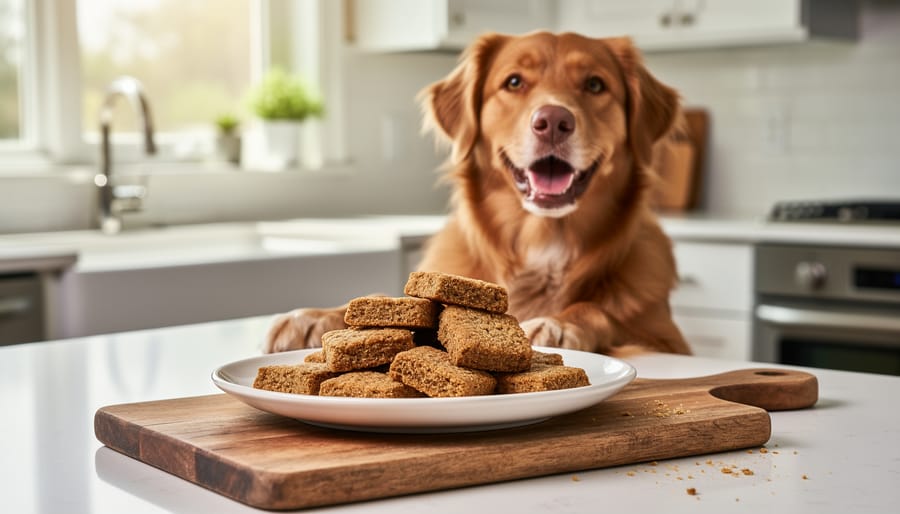
Knowing when your sweet potato treats are perfectly done takes a bit of practice, but there are reliable signs to watch for. Look for golden-brown edges and a firm surface, the treats should feel solid to the touch while still in the oven, though they won’t reach their final hardness until after cooling.
The cooling process is just as important as the baking itself. Once you remove the treats from the oven, let them sit on the baking sheet for about five minutes, then transfer them to a wire rack. They’ll continue to firm up as they cool to room temperature, typically becoming much harder over the next 30 to 60 minutes. This is normal and actually what you want, fully cooled treats should be quite hard and crunchy, which helps them last longer and gives your dog a satisfying chew.
Don’t panic if they seem slightly soft when you first take them out. The real test is how they feel once completely cool. If they’re still bendable or soft after cooling, pop them back in the oven for a few more minutes. Overbaked treats will be very dark and may taste burnt, while underbaked ones won’t keep well and can develop mold. Trust your senses, properly done treats should look appetizing and feel rock-solid when cool.
Storing Your Homemade Treats Properly
Your homemade sweet potato treats won’t last as long as store-bought versions because they don’t contain preservatives, so proper storage makes all the difference.
For short-term storage, let the treats cool completely before transferring them to an airtight container. Glass jars with tight-fitting lids or BPA-free plastic containers work well. You can keep them at room temperature for a few days if your home is cool and dry, but refrigeration is safer for extending freshness. In the fridge, they’ll stay good longer while maintaining their texture.
For longer storage, freeze the treats in a freezer-safe container or resealable bag, removing as much air as possible. They’ll keep significantly longer this way. Take out only what you need for the week and let them thaw in the fridge.
Check your treats regularly for signs of spoilage. Toss them immediately if you notice any mold, an off smell, or changes in color or texture. When in doubt, throw them out. Your dog’s safety isn’t worth the risk.
Label your containers with the date you made the treats so you can track freshness. Since homemade treats lack the shelf stability of commercial products, staying vigilant about storage conditions protects your dog from potential stomach upset or worse.
Common Questions About Homemade Sweet Potato Dog Treats
Most dog owners have similar questions when they first try making sweet potato treats, and the answers are simpler than you might think.
Can all dogs eat sweet potato treats?
Most dogs can safely enjoy sweet potato treats, but those with diabetes or weight concerns should have limited portions since sweet potatoes contain natural sugars. Always introduce new treats gradually and watch for any digestive upset or allergic reactions.
How many treats can I give my dog per day?
Treats should make up no more than 10% of your dog’s daily caloric intake. For a 30-pound dog, that’s typically 2-4 medium-sized treats depending on their activity level and your recipe’s size, you can use a calorie calculator to determine your dog’s specific needs.
Can I substitute ingredients in these recipes?
Yes, you can swap regular flour for oat flour or rice flour if your dog has grain sensitivities, and almond butter works as a peanut butter alternative (just verify it’s xylitol-free). The coconut flour version with 3/4 cup sweet potato puree, 1/4 cup coconut oil, and 1/2 cup coconut flour is naturally grain-free.
Do I need baking experience to make these treats?
Not at all, these recipes are beginner-friendly and more forgiving than human baking. If you can mix ingredients in a bowl and roll out dough, you can make these treats successfully.
Ottawa dog owners often ask whether homemade treats work for medication time. These treats are soft enough when fresh to hide pills effectively, making them doubly useful for dogs who need daily medications.
If your dog has specific health conditions or you’re unsure about introducing sweet potato to their diet, check with your Ottawa veterinarian first. They can provide guidance tailored to your dog’s individual needs, especially for senior dogs or those managing chronic conditions. The beauty of homemade treats is that you control every ingredient, which makes them easier to customize for dogs with special dietary requirements.
Making homemade sweet potato dog treats is easier than you might think, and the rewards go far beyond the kitchen. You’re giving your dog wholesome nutrition you can trust, without the mystery ingredients or preservatives found in many commercial options. Ottawa’s pet care community has long valued this hands-on approach to dog wellness, where every ingredient serves a purpose and every batch is made with love.
Try one of the recipes we’ve covered and see how your dog responds. Many local dog owners have discovered their own favorite variations, tweaking texture or adding safe ingredients their pets love. Start with small portions when introducing these treats to your dog’s routine, and watch for any sensitivities as you would with any new food. Your pup will appreciate the effort, and you’ll enjoy the peace of mind that comes from knowing exactly what’s in their bowl.